This vegan Wellington is filled with braised lentils, finely chopped walnuts, and a beautiful orange center of tender, oven-roasted carrots. It’s a show-stopping centerpiece for holiday meals, gatherings, and special occasions—and it’s incredibly wholesome, also.

The vegan Wellington that I’m sharing today is a true centerpiece for your celebratory table.
Yes, we all have festive sides that are plant-based already, or they easily could be. And I know that a lot of people feel as though side dishes are the real highlight of holiday meals.
I’m not sure that I agree.
I love a heaping helping of mashed potatoes, a scoop of creamed spinach, or a side bowl of salad as part of a special dinner.
But I also like being able to serve a main dish that feels undoubtedly like the star of the show.
Vegan Wellington is such a dish. It’s also delicious, full of nutrient-rich ingredients, and fun to assemble.
How this recipe came to be
Years ago, I ate at a restaurant in New York City that had a (non-vegan) carrot Wellington on the menu. I thought to myself that it was a great idea for a “fancy” plant-based entrée, and I made a note to myself to try a homemade version sometime.
Years went by, and I conquered a lot of other elaborate or complex recipes. I baked bread, pie, and even puff pastry.
Yet I remained a little intimidated by the idea of a Wellington, until I finally gave it a try this fall. I realized that I’d been silly to avoid it for so long!
First, there’s no requirement to use homemade puff pastry when making a Wellington at home. The frozen puff pastry from Pepperidge Farm, Pillsbury, Sweet Loren’s, and Dufour Plant-Based are all vegan and can be used for the outer shell.
Constructing the Wellington is a little involved, as you’ll see. But if you approach it patiently and treat it as a (delicious) project, it’s also really rewarding.
I learned one critical thing in my homemade vegan Wellington experiments: overnight chilling time is essential.
If you put freshly roasted vegetables and hot lentils into a sheet of puff pastry, it’ll soften or melt on the spot. Puff pastry should be cold when it goes into the oven.
So, be sure to account for an overnight chill as you plan this meal.
A wholesome and beautiful cross-section
My carrot Wellington isn’t only filled with carrots. There are also braised lentils and walnuts involved.
These ingredients give the Wellington its structure and shape, and they lend plant-protein and healthful fats to the recipe. They increase its nutritional balance and help to make it a more filling vegan main dish.
You’ll braise, or simmer the lentils in liquid, in order to cook them. After they’re cooked, you’ll pulse them in a food processor with toasted lentils.
Some lentils will remain whole, others will be broken down. The processed mixture will hold the carrots in the center of the Wellington.
Speaking of that, you’ll roast the carrots in two parts. First transfer them to the oven with a foil or parchment cover, to steam-cook and tenderize them. Then, roast the carrots uncovered, so that they start to brown and become glazed in appearance.
The two-step roasting process helps to ensure that the carrots don’t start burning before they’re fully tender.
Let’s go through the steps, one by one.
How to make vegan Wellington
Before you start cooking the Wellington ingredients or thinking about assembly, devote a moment or two to planning.
You’ll need to give the lentil filling and the roasted carrots an overnight chill, so that they’re nice and cold when you construct the Wellington. It’s also important to thaw the puff pastry sheet about one hour before you use it (follow the manufacturer’s instructions).
When I make the recipe, I generally prepare the carrots and lentil filling on one day, then assemble and bake the following day. Splitting the process into steps makes the whole thing feel doable.
Step 1: Preheat the oven and toast your walnuts
Begin by preheating your oven and oven-toasting the walnuts that go into the Wellington filling. Toasting the nuts this way deepens their flavor.
Step 2: Roast your carrots
Once you’ve toasted and removed the walnuts, turn to roasting your whole carrots.
It’s not hard to roast whole carrots if they’re small. The problem with bigger ones is that it takes them quite a while to become fully tender. Often their exteriors start to burn before the interiors are cooked through.
In order to avoid this, I use a two-step roasting method for the Wellington.
First, you’ll wrap the carrots tightly in foil or parchment paper, like a sealed little package. It’s the same method that I use for my oven roasted beets, and it’s a form of par-cooking.
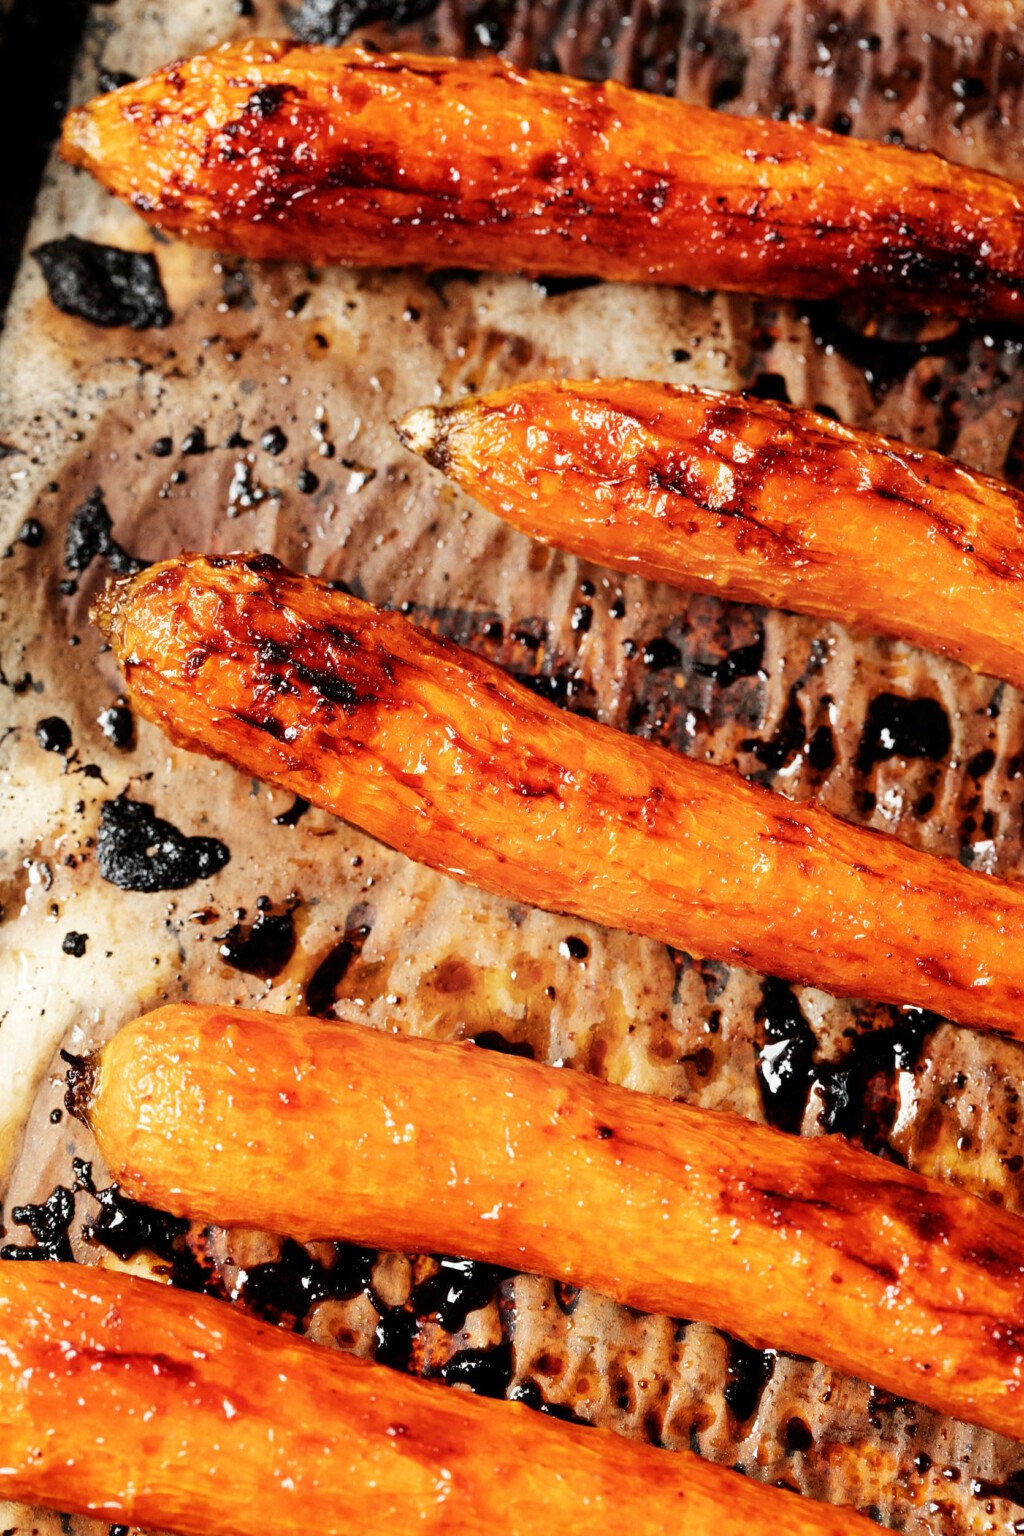
Unlike the beets, the carrots will get unwrapped and seasoned midway through cooking, and you’ll finish roasting them uncovered. They should be very tender and have an almost glazed appearance when you’re finished.

Step 3: Cook the lentils
You’ll braise, or simmer-cook, the lentils with broth and a mixture of carrots, onion, celery, and herbs. This seasons them nicely.
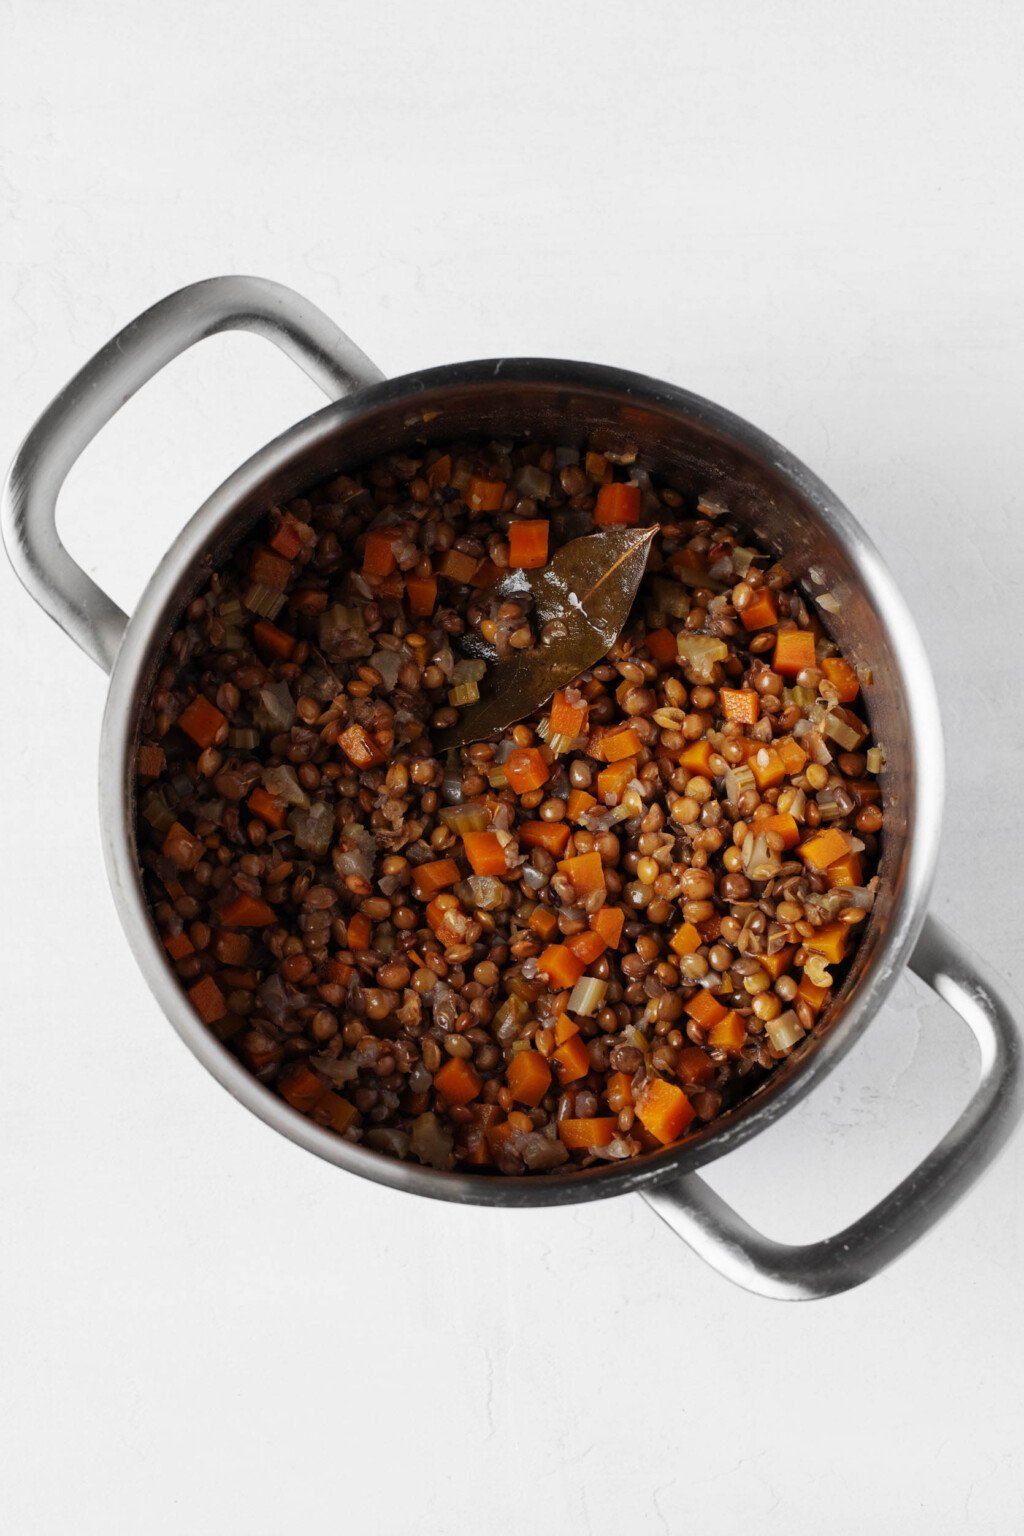

I like to use French lentils in this recipe, personally. I love this type of lentil and always have some on hand for my hearty vegan French lentil soup or French lentil Niçoise.
However, it’s fine to substitute black lentils, pardina (Spanish) lentils, or regular brown or green lentils in the recipe. If you use brown or green, they’ll need less cooking time than French (20-25 minutes rather than 35).
Step 4: Overnight chill
Once the lentils and carrots are cooked, transfer them to airtight storage containers and give them an overnight chill.
If you’d like to make the entire recipe in a single day, you can start early and chill both components for a minimum of four hours, or until cold.
Step 5: Pulse the lentils and walnuts together
On the following day (or at least four hours later), you can pull the lentils from the fridge. Transfer them to a food processor fitted with the S blade and pulse them together with the toasted walnuts.
You’ll end up with a somewhat crumbly mixture; the lentils will be partially broken down, and the walnuts will help with binding.
Step 6: Assemble your vegan Wellington
The fun of assembly begins!
Note that you’ll need to defrost your puff pastry about one hour before you assemble the Wellington, so plan accordingly. You should also preheat your oven to 400°F / 200°C.
Store-bought puff pastry is usually sold in either a single 14- or 15-ounce (400-425g) sheet or a package of two 8.5 ounce / 240g sheets.
The recipe card, below, will give instructions for both options. Essentially, if you have two sheets at home, you’ll roll them out together so that they merge into a bigger sheet.
Either way, you’ll roll the puff pastry out and arrange a layer of the lentil/walnut mixture along the long side.
Top this layer with a nice, stacked layer of carrots. I do two layers and alternate their direction, so that they can be as evenly arranged as possible.
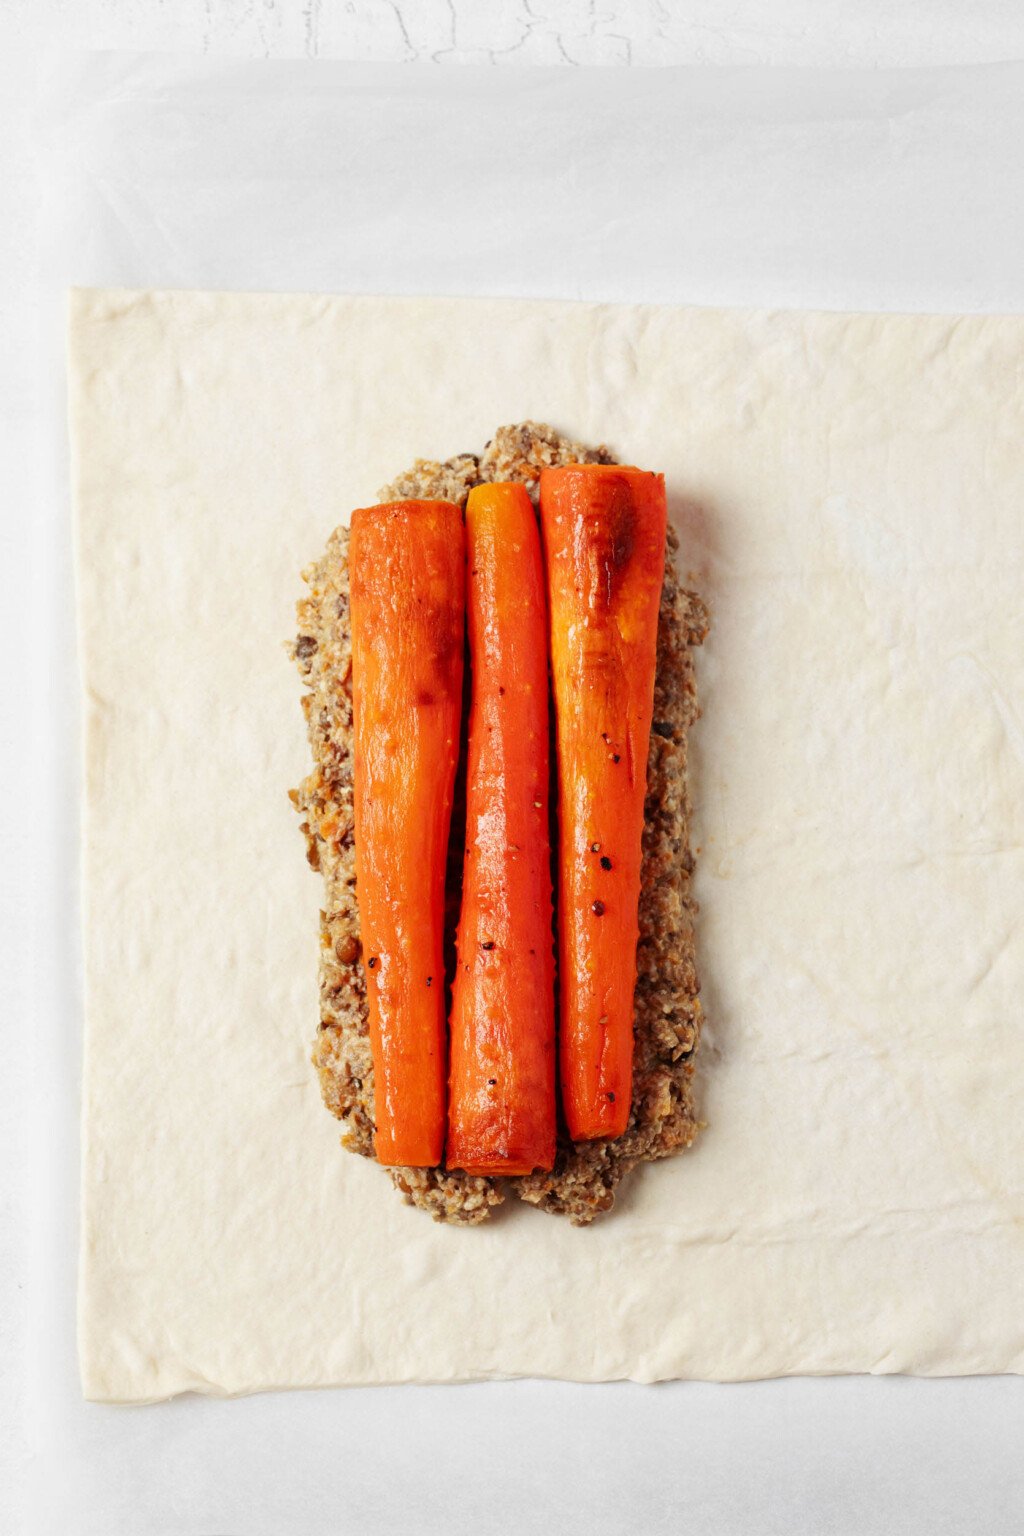

Once you’ve got a nice stack of carrots, you can cover them with the remaining half of the lentil mixture. Try to pat it down around the sides of the carrots, too, so that they’re fully enveloped.
Next, you’ll wrap one side of the puff pastry around your filling ingredients. It should impartially cover the top layer of lentils.
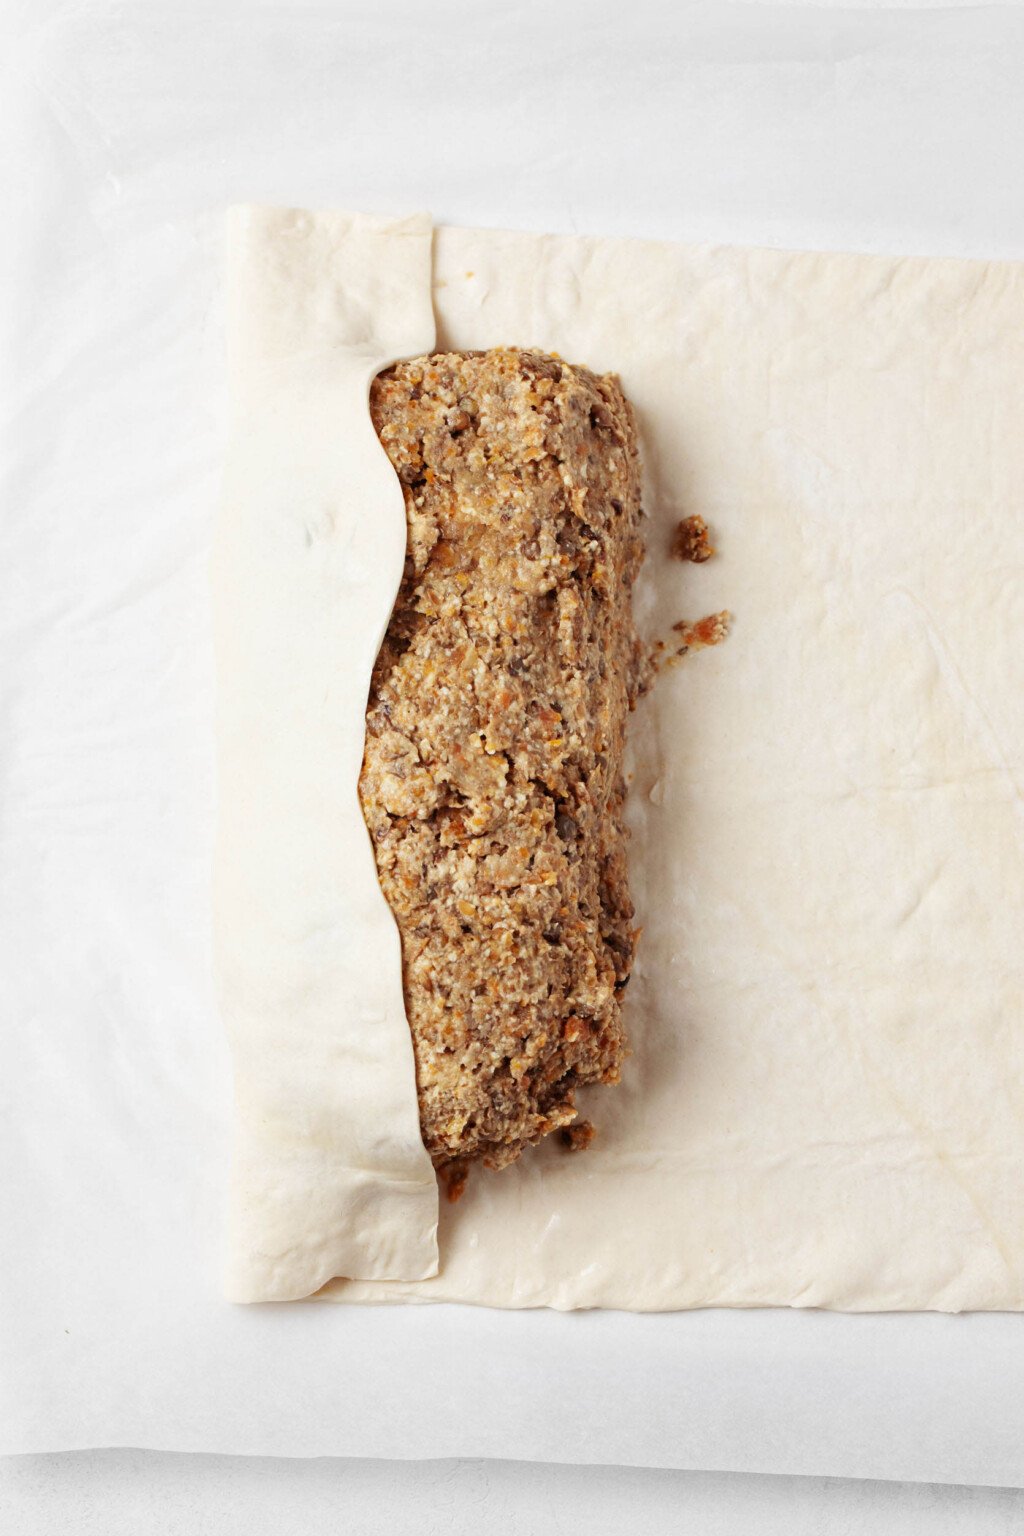

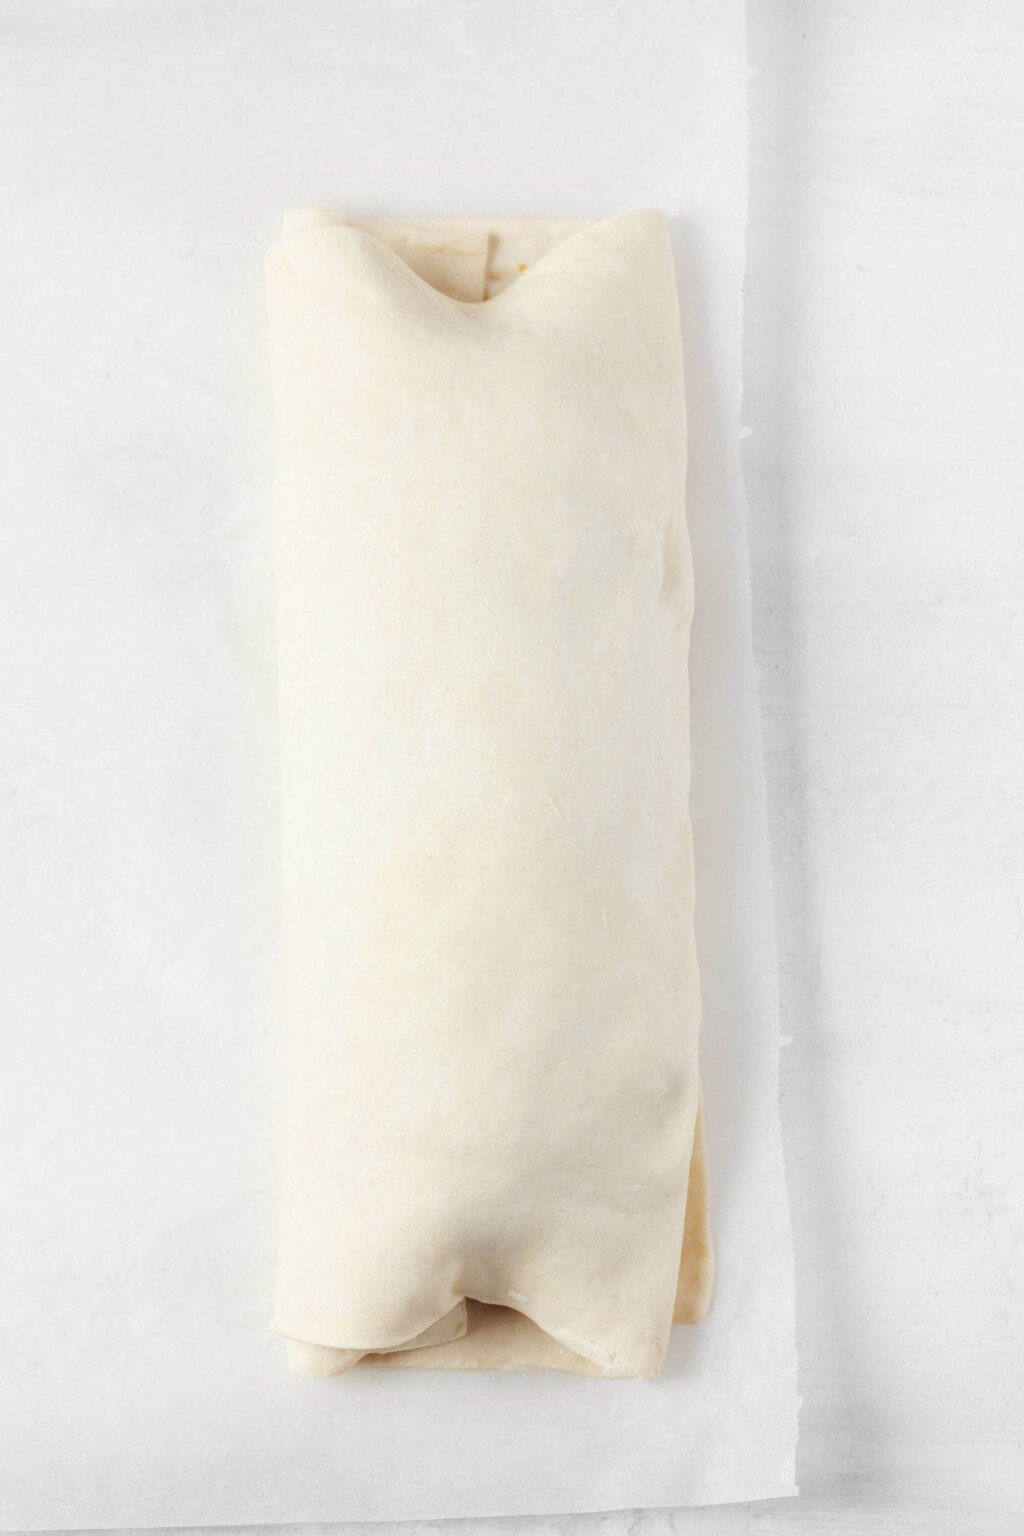

Roll the whole Wellington up sideways, so that you surround the column of fillings with puff pastry. When you finish, trim any excess pastry and seal the long edge.
Finish by trimming and tucking the pastry on the short ends of the Wellington. Finally, cut a few diagonal lines on the top of the Wellington to vent as it cooks, and brush the top with aquafaba.
Step 7: Bake
Transfer the vegan Wellington to your oven and bake it for 40-45 minutes.


I like to brush the top of the Wellington once again with aquafaba halfway through it’s baking time. This gives it a nice, subtle glaze.
After baking, the Wellington will be a beautiful golden brown and the pastry will have puffed up.
I recommend waiting at least twenty minutes before slicing and serving your Wellington. Alternatively, you can transfer it to the fridge and store it for up to five days, or you can freeze it for up to six weeks.


What to pair with your vegan Wellington
The Wellington will play nicely with so many veggie side dishes. Its earthy flavors and hearty consistency work well with a fresh green salad.
Try my favorite butter lettuce side salad, Brussels sprout kale salad, or cauliflower pomegranate salad. Or, pair it with your own favorite every day salad for freshness and crunch.
It’s also nice to serve the recipe with shaved or roasted Brussels sprouts, some simple steamed broccolini, or green beans with Dijon vinaigrette.
If you’d like to add a leafy green component, but you’re not in the mood for salad, it would be really pretty to serve the vegan Wellington slices over a bed of steamed kale or lightly sautéed spinach.
No matter how you present the dish, it’s sure to impress!

Vegan Wellington with Oven-Roasted Carrots, Lentils, and Walnuts
Author –
Yields: 6servings
Oven-glazed carrots:
- 1poundcarrots, trimmed and peeled(455g)
- 1tablespoonavocado oil
- 1tablespoonmaple syrup
- Salt
- Freshly ground black pepper
Braised lentil and walnut crumble:
- 3/4cupwalnut halves and pieces(85g)
- 1tablespoonolive oil
- 1white or yellow onion, diced
- 2mediumcarrots, trimmed, peeled, and diced
- 2medium stalks celery, trimmed and diced
- 3clovesgarlic, minced
- 3/4cupFrench lentils(150g)
- 1bay leaf
- 2teaspoonsfresh thyme leaves(substitute 1 teaspoon dried thyme)
- 2teaspoonschopped fresh rosemary leaves(substitute 1 teaspoon dried rosemary)
- 2 1/4cupsvegan chicken-style or vegetable broth (530ml)
Wellington assembly:
- 114- or 15-ouncesheet vegan puff pastry, or two 8.5-ounce sheets, thawed for 40-60 minutes prior to assembly (according to package instructions)(One 400-425g sheet or two 240g sheets)
- 3tablespoonsaquafaba(drained liquid from a can of chickpeas)
Toast the walnuts and roast the carrots:
Preheat the oven to 400°F/200°C.
Line a baking sheet with parchment. Place the walnuts onto the sheet and transfer them to the oven for 5 minutes, to toast them. Immediately remove the walnuts from the sheet and set them aside to cool; allow the baking sheet to cool enough to be touched again.
Line the baking sheet with foil. Place the carrots onto the sheet and place another sheet of foil on top of them. Wrap the carrots up with the foil, creating a tight envelope for them. Transfer them to the oven and roast for 20 minutes (for thinner carrots) or 25 minutes (for thicker carrots). Remove the top layer of foil. The carrots will be tender already.
Drizzle the carrots with the avocado oil and maple syrup, then season them well with salt and pepper. Return them to the oven for 10 minutes, or until they’re browning gently and have a glazed appearance. They will be tender all the way through. Remove the carrots from the oven and set them aside.
Cook the lentils
Heat the olive oil in a large, deep, lidded skillet or heavy-bottomed pot over medium heat. Add the onion, carrots, and celery. Sauté these vegetables for 5-6 minutes, stirring often, until the onion is translucent and the carrots are just tender. Add the lentils, bay leaf, herbs, and broth to the skillet or pot. Bring the mixture to a simmer, then cover and turn the heat to low. Simmer the lentils for 35 minutes, or until all the broth has been absorbed and the lentils are fully tender.
Overnight chill
Transfer both the carrots and the lentils to airtight storage containers with lids and refrigerate them overnight. Transfer the toasted walnuts to a mason jar (or another small container) and store them at room temperature overnight, or for a minimum of four hours.
Prepare the braised lentil walnut crumble
On the following day: place the walnuts into a food processor fitted with the S blade. Pulse them a few times to break them down. Then, add the lentil mixture to the processor. Continue pulsing for about 20 seconds. You should have a lentil and walnut mixture that’s a bit crumbly and the lentils should be partially broken down, though many whole lentils should remain. The mixture will hold together relatively well if you apply pressure to it.
Assemble and bake the Wellington
Preheat the oven to 400°/200°C once again. Be sure to thaw your pastry as directed.
If using a 14- or 15-ounce / 400-425g sheet of pastry: lay the pastry onto a large sheet of parchment and dust the top with flour. Use a floured rolling pin to roll the pastry sheet out so that it’s about 13-inches by 15-inches / 36cm by 38cm, or as close to this as possible. If using two 8.5-ounce / 240g sheets, place them side-by-side with the long edges joining. Roll the sheet gently, helping to seal the two sheets together and creating one larger rectangle that’s about 18” by 12”; you’ll end up trimming away some extra pastry at the end, which you can freeze for future use or reserve for a homemade dessert.
Arrange half of the lentil mixture along the long side of the sheet, about 6 inches / 15cm away from the long edge of the sheet. The lentil mixture should be arranged in a layer that’s about 10-inches by 3 ½ inches (25cm by 9cm) and about ¾-inch / 2cm high.
Arrange the carrots on top of this bed of lentils, alternating the direction that the carrots face, so that they end up in two even (or even-ish) layers. It doesn’t have to be perfect, but you want the carrots to stay in place; you may not use every single carrot. Gently arrange the remaining lentils on top of them, patting the lentil mixture down so that it stays put as a top layer.
Brush the long edge of the sheet (next to the lentils) with the aquafaba. Tuck this edge up over the top of the lentil mixture. Holding it firmly in place, roll the whole log of lentils and carrots over, to wrap up your Wellington. When you finish rolling, the lentil layer that was on bottom of the carrots will now be on top, and the puff pastry will surround the whole Wellington. Trim away excess pastry on the long side of the Wellington, then be sure to seal the long edge by pinching and pressing it together.
Next, fold the middle of the short sides into the center of the Wellington. Trim away the bottom flap and tuck the top flap over the side of the Wellington, pinching as you go to help secure it. Repeat on the other side. Brush the entire Wellington with aquafaba. Cut a few diagonal slits along the top, which will allow steam to escape and create a nice visual effect.
Transfer the Wellington to the oven. Bake for40-45 minutes, or until it’s a deep golden brown and nicely puffed all over. Midway through baking, brush more aquafaba all over the Wellington.
Wait 20 minutes before storing the Wellington or slicing and serving. Enjoy! Leftover slices can be stored for up to five days in the fridge or frozen for up to six weeks.
Yes, it’s a long one, but I hope that the length of the recipe won’t scare you off.
We have the whole year round for 30-minute recipes and easy weeknight meals. Special occasions are exactly that, and it’s a real pleasure when food on the table is as unique and special as the day itself.
I hope that the vegan Wellington will bring festivity to your table at a moment worth celebrating!
xo
